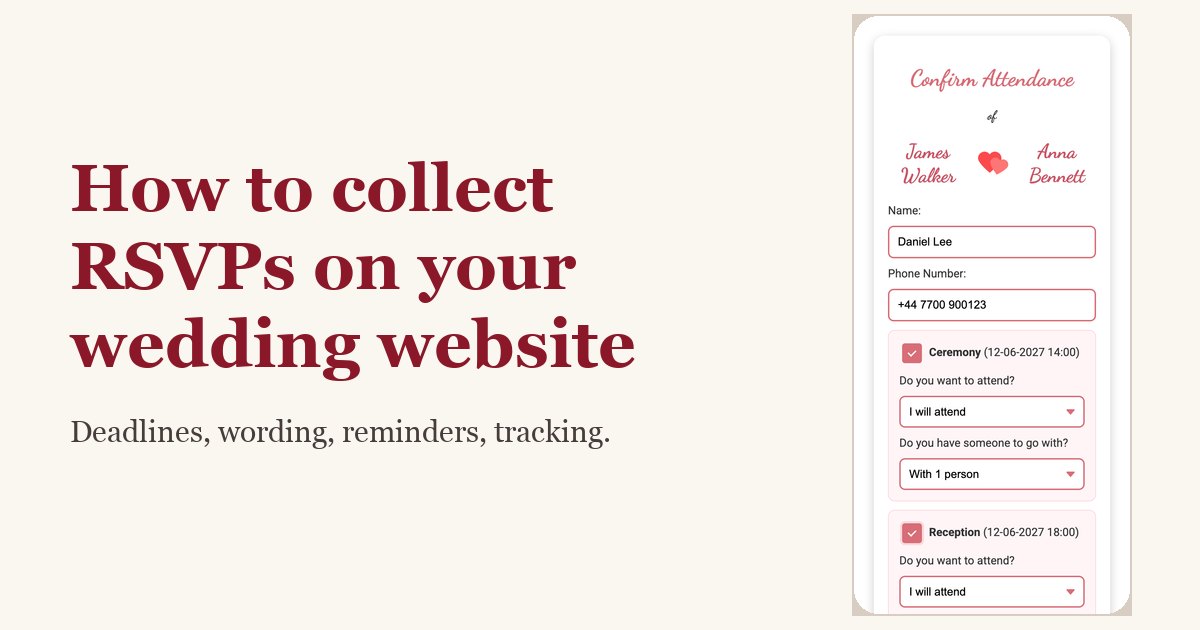
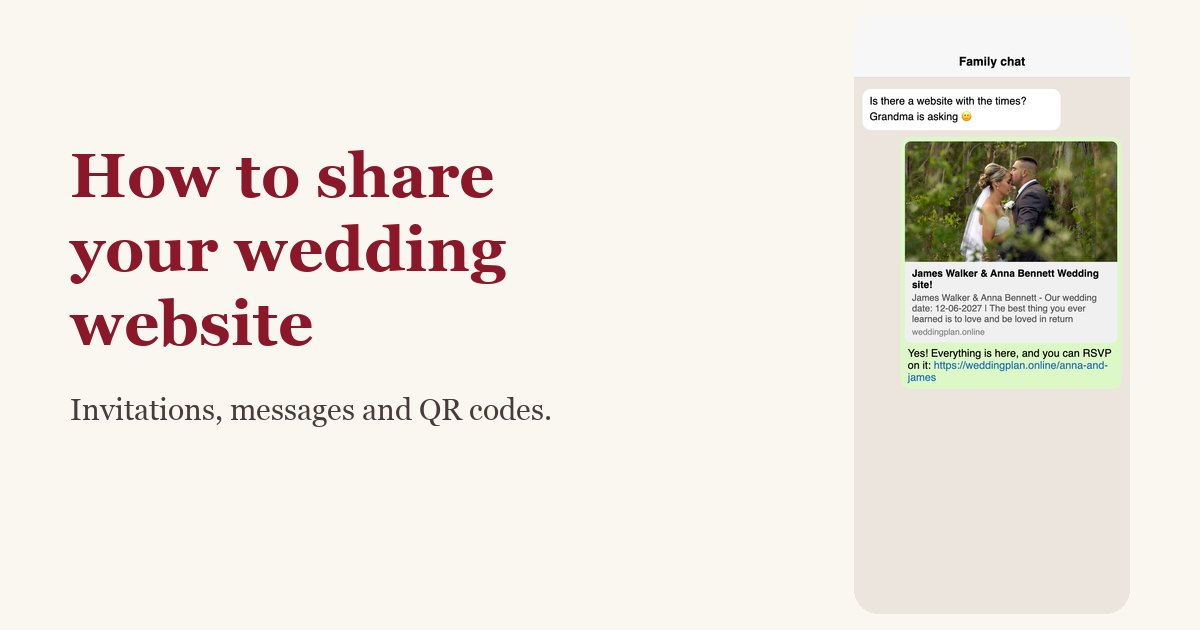
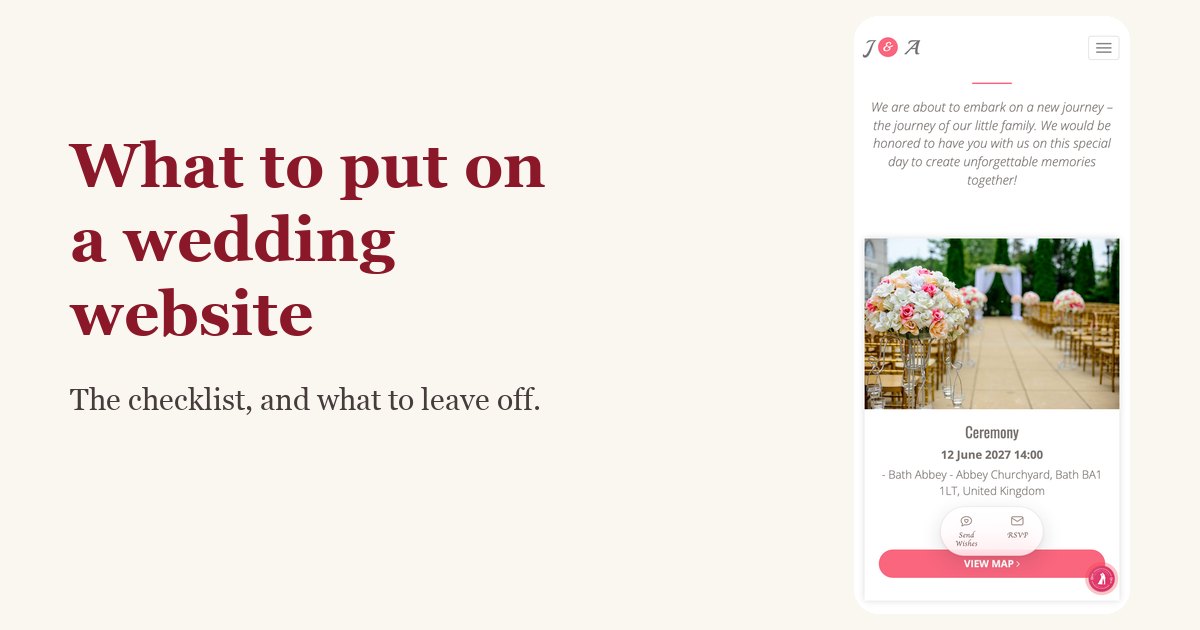
How to Make a Wedding Website (Step by Step, Free)
Make a wedding website in about an hour: what to prepare, how to pick a design and web address, add events with maps, check it on your phone, then share the link and QR code. Step by step, with screenshots from a real site.
A wedding website answers the questions your guests would otherwise text you about: when, where, what time, how to get there and whether they're coming. Making one is easier than it sounds. You don't need to know any code or design, and you can have a finished site on your phone in about an hour.
This guide walks through every step, from choosing a design to sending the link, using a real site we built for this article: James and Anna's wedding in Bath on 12 June 2027 (sample couple, sample data).
Disclosure: Wedding Plan is our product and the screenshots come from it. The steps and tips apply to whichever wedding website builder you choose.
Before you start: what to have ready
Collect these first and the whole process takes one sitting instead of three:
- Your names the way you want them shown, and your wedding date.
- Event details: name, date and time, venue name and full address for each part of the day (ceremony, reception, welcome drinks).
- A few photos: one strong cover photo of the two of you, a portrait of each of you, and a handful for the album.
- Two or three short paragraphs about yourselves or how you met. Short is fine; guests skim.
- A web address idea, usually your two first names, like anna-and-james.
Don't wait until everything is final. You can publish with the date and venue, and add the rest later. Guests always see the latest version at the same link.
Not sure which sections you need? Our checklist of what to put on a wedding website covers the must-haves and what to leave off. Still undecided about making one at all? Start with Do you need a wedding website?
Step 1: Start a free account
Open the free wedding website builder on a computer, or install the Wedding Plan app on your phone. The first screen asks for your names, an estimated wedding date and budget, and your country. Choose the country carefully: it sets your plan limits and can't be changed later.
No email or password is needed to start. If you want to keep your site safe if you change phones or browsers, link a Google or Apple account in the app later.
Step 2: Pick a design
Next, choose a template. Each design shows on a computer and a phone side by side, and Preview opens a full sample site so you can scroll through it before you commit.
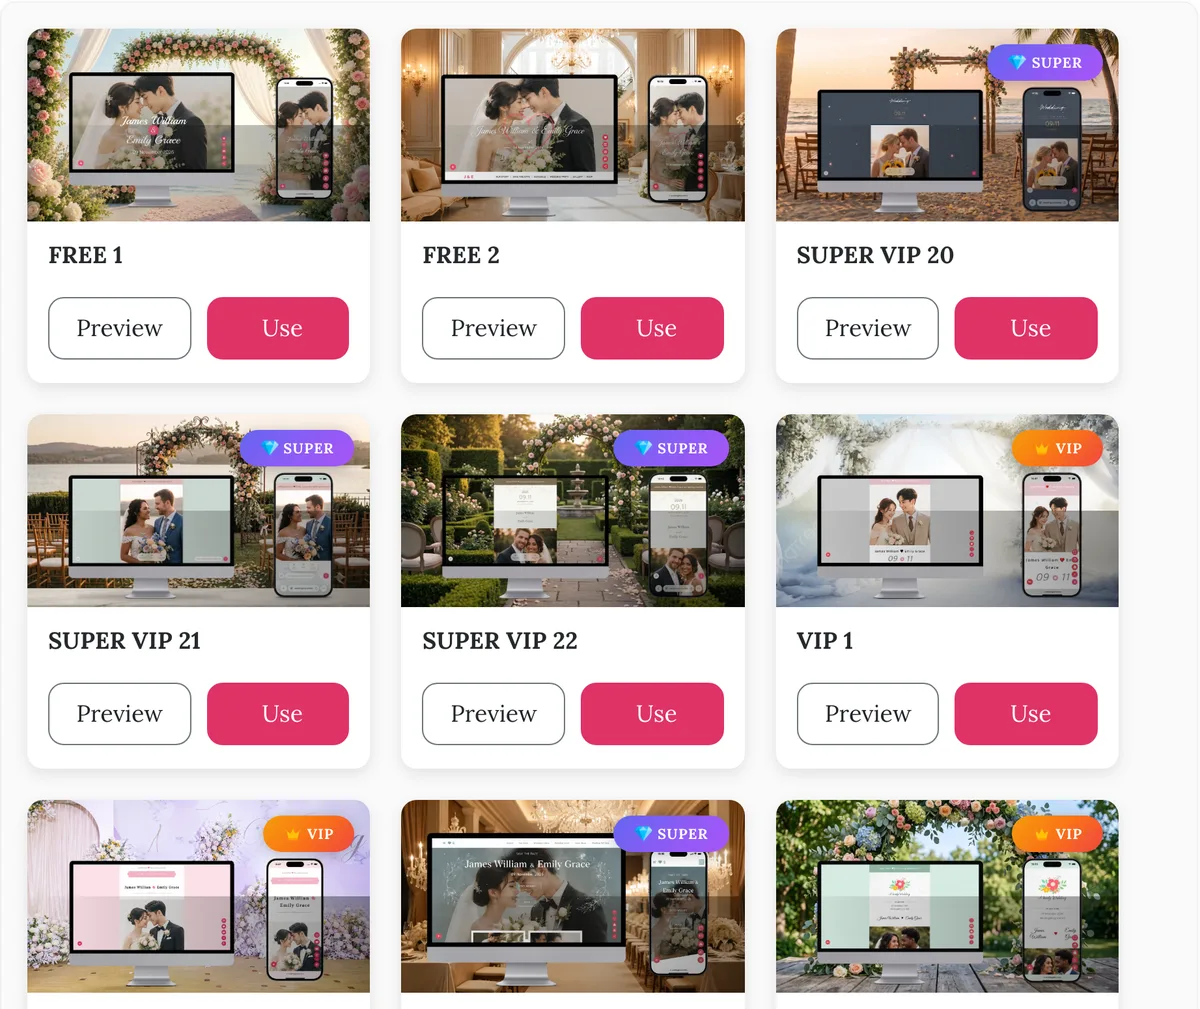
There are 37 wedding website templates, and 4 of them are free. Two tips:
- Check the design on a phone. Most guests will open your link on their phone, so the mobile version matters more than the desktop one.
- On the free plan, choose carefully. Switching to another design after the site is created needs a paid plan. If you're unsure, preview two or three before you click Use.
Step 3: Add your names, date, language and web address
After you pick a design, a short form creates the site. Most of it is already filled in from Step 1.
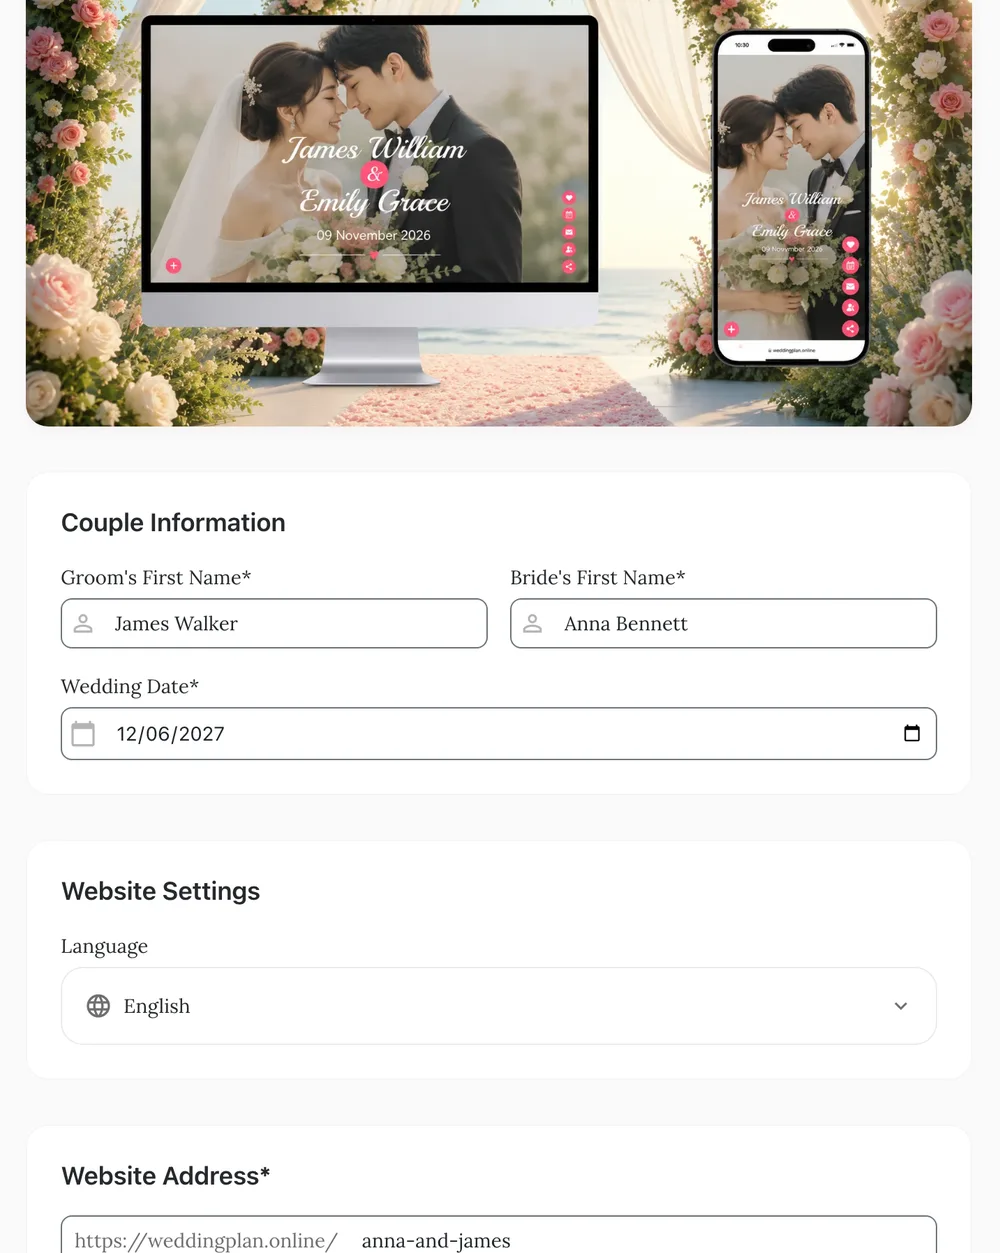
- Names and date appear on the cover of your site and drive the countdown and calendar.
- Language sets the language of the site's buttons and headings (RSVP, Love Story, Wedding Event and so on). There are 34 to choose from. Pick the one most of your guests read.
- Website address is the part after weddingplan.online/. Keep it short, easy to say out loud and free of dates or numbers people might mistype. Lowercase letters, numbers and hyphens only. You can change it later in settings, but do it before you send the link or print a QR code.
Click Create Website and the site is live straight away, with your names and date on the cover.
Step 4: Fill in the content
You land on the website dashboard. Each tile is one section of your site, and a green tick shows which ones are done. The progress bar at the top counts down what's missing.
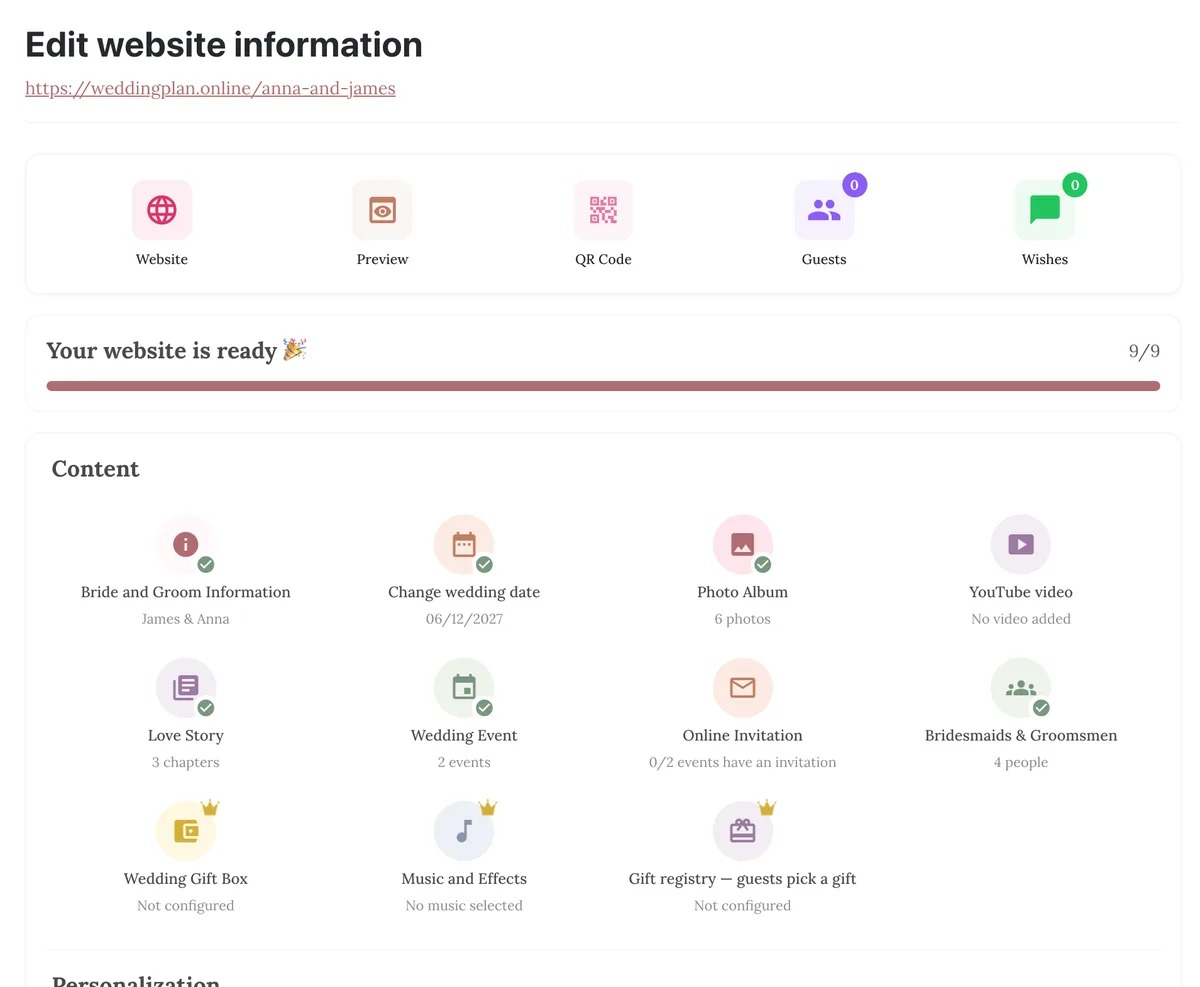
Work through the tiles in this order. It's the order guests read your site in:
- Bride and Groom Information: full names, a cover photo, a portrait each and a sentence or two about each of you.
- Photo Album: your best engagement or everyday photos. The free plan holds 6 photos, VIP 20 and SUPER VIP 50.
- Love Story: two to four short chapters with a date and a photo each (how you met, a favourite trip, the proposal).
- Bridesmaids & Groomsmen: optional, but guests love putting faces to names.
- YouTube video: optional; paste a link to a pre-wedding video if you have one.
Two settings further down are easy to miss. Edit page wording lets you rewrite the default headings and short texts of your design. Show on website hides whole sections you don't want, so an empty love story never shows up as a blank block.
Step 5: Add your events and a map
The Wedding Event section is the one guests will come back to on the day. Add one event per part of the celebration: ceremony, reception, after-party.
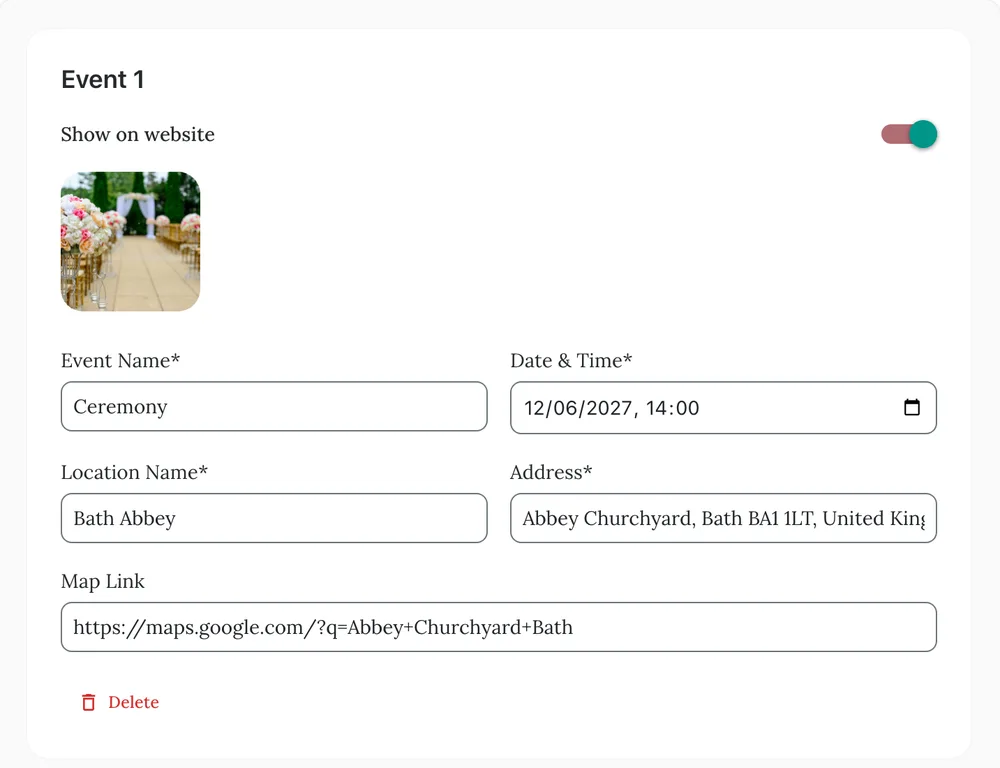
- Use the venue's exact address and paste a Google Maps link into Map Link. Guests get a View Map button and an Add to Calendar link.
- Write the real start time, not "doors open". If you want people seated 15 minutes early, say so in the event name or your welcome text.
- Guests coming from out of town will also look for hotels and transport. Our guide to the wedding website travel and accommodations page shows what to include.
Step 6: Check it on your phone
Open your link on your own phone before anyone else sees it, and scroll from top to bottom. Here's James and Anna's finished site:
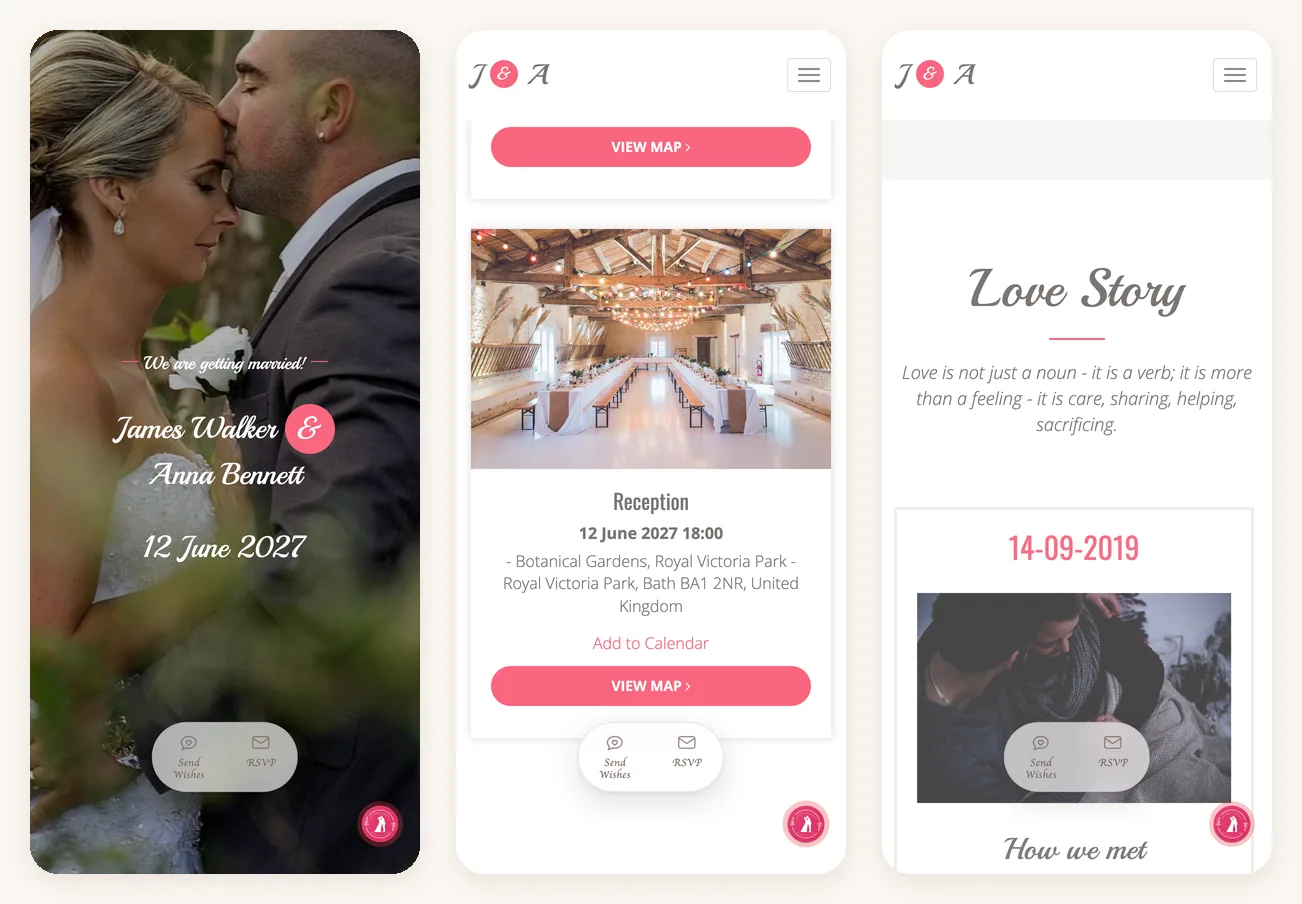
Check three things: the date and times are right, every map button opens the right place, and the RSVP button works. Send the link to one friend and ask them to RSVP as a test.
Step 7: Set up RSVPs and share the link
Every site has an RSVP button and a guest book for wishes. Replies show up in your guest list in the app. By default anyone with the link can RSVP. If your list is fixed, switch the RSVP setting to Only guests on the list.
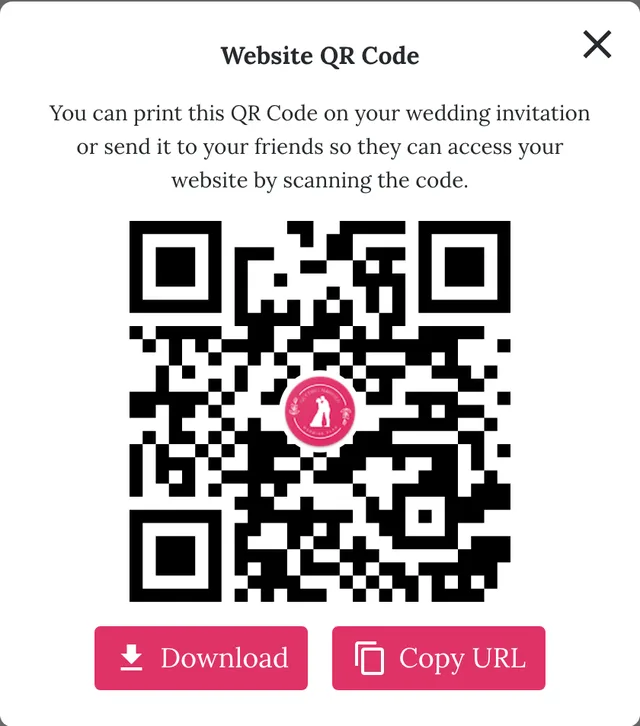
Ways to share:
- Copy the link into a family group chat, an email or your save-the-dates.
- Print the QR code on paper invitations, a welcome sign or table cards. The code stays the same when you edit the site, but it changes if you change your web address, so settle the address first.
- Send personal links so each guest sees their own name and their RSVP lands on the right entry. See how personalized invitation links work.
When to make your wedding website
Most couples publish their site with or soon after their save-the-dates, about 6 to 8 months before the wedding, or 9 to 12 months ahead for a destination wedding. The site doesn't need to be complete then. Date, city and a "more details soon" note is enough, and you add events and RSVP once the formal invitations go out.
One thing to plan around: on the free plan, a wedding website stays online for 3 months. VIP keeps it up for a year and SUPER VIP for life. If you're on the free plan, build it closer to the date, or upgrade if you want the site up from the save-the-dates onward.
Free vs paid: what you actually get
| Free | VIP | SUPER VIP | |
|---|---|---|---|
| Events, map, RSVP, guest wishes | Yes | Yes | Yes |
| Website designs | 4 | 15 | 37 |
| Photos in the album | 6 | 20 | 50 |
| Website stays online | 3 months | 1 year | Lifetime |
| Music, gift box, switch design later | No | Yes | Yes |
If you only need to share the details and collect RSVPs, the free plan does the job. Limits can change, so check the current plans in the app before you decide.
Common mistakes to avoid
- Changing the web address after printing. Printed QR codes and old messages will point to the wrong place.
- Leaving out the full address. "The Garden House" means nothing to a taxi driver; the street address and map link do.
- Too much text. Guests read the date, time, place and RSVP. Keep stories short and put practical details first.
- Forgetting older guests. Send grandparents the link by message as well as on paper, and offer to RSVP for them.
- Sharing private details. Your site is public to anyone with the link. Couple sites on Wedding Plan are hidden from Google (they carry a "noindex" tag), but there's no password, so leave out door codes and home addresses.
FAQ
How long does it take to make a wedding website?
About an hour if you have your photos and event details ready. Creating the site itself takes a couple of minutes; most of the time goes into choosing photos and writing short texts.
Can I make a wedding website for free?
Yes. The free plan includes 4 designs, events with maps, RSVP, a guest book and a 6-photo album. Paid plans add more designs, more photos, music, a gift box and a longer time online.
Do guests need an app or an account?
No. Your site opens in any phone or computer browser. Only you use the app to edit it.
Can I edit the site after sending the link?
Yes, at any time. Changes show up straight away at the same link, so you never need to resend it.
Can I make the website in another language?
Yes. Choose from 34 languages for the site's buttons and headings, and write your own texts in whatever language your guests read.
Next steps
Ready to build yours? Start with the free wedding website builder and browse the wedding website templates. Once the site is up, add your guests to the wedding guest list and send the first link to yourself to see exactly what your guests will see.